Search results for 'roller derby' (14)

In my last blog post , we went over how to judge the training intensity of a specific workout. But that’s not the only intensity you should track for your training. Your entire training schedule should have a cadence to it, and if rests aren’t built in, your body will begin to feel the fatigue of constant training. For athletes, periodization training is the go-to method to schedule long term training. Periodization training works by breaking down your year into different sections, aiming to be in peak condition for a specific major event or events. Periodization training is divided into cycles, to better plan your time. These are called Macrocycles, Mesocycles, and Microcycles. The Macrocycle covers your full year, it will show all the training plans you have. The Mesocycle is a specific training block; often designed around a training period, like pre-season, or a training goal, like endurance training. Each Mesocycle is typically 3-6 weeks. The amount of weeks will depend on the individual workout intensities of your plan. For example, if you are training for increased power and doing a lot of plyometric workouts, you will likely only be able to do those for 3 weeks before needing a rest. Finally, the Microcycle is a single week of training. This is where you will break down your daily activities and add in your active rest days.
You have a training plan. Maybe you made it yourself, found something online, or purchased it. Regardless, now you have a plan and you are seeing it through. However, an often missed component with most workout plans is the lack of direction regarding intensity. If you are looking for that kind of direction, you’ve come to the right place. Intensity is measured via your heart rate zone and your perceived level of work. For this blog I’m going to break intensity down into Low, Medium, and High: Low Intensity will be defined as being able to easily maintain a conversation while doing an activity. Stretching is a great example of low intensity. Medium Intensity is being able to have short exchanges during activity. Jogging for many people falls under medium intensity. High Intensity will be impossible to have a conversation during activity and only being able to say a few words during your rest. One last definition I want to give is Training. Training is doing an activity/workout that directly relates to your sport and goals. Cleaning your house is an example of activity that is not training, whereas sprinting is an activity that is more often training. Now that the definitions are all squared away, let’s get you to the right intensity. Does all training need to be high intensity? No! Absolutely not, and it shouldn’t be. Instead, the important thing is to match the correct intensity to the workout.

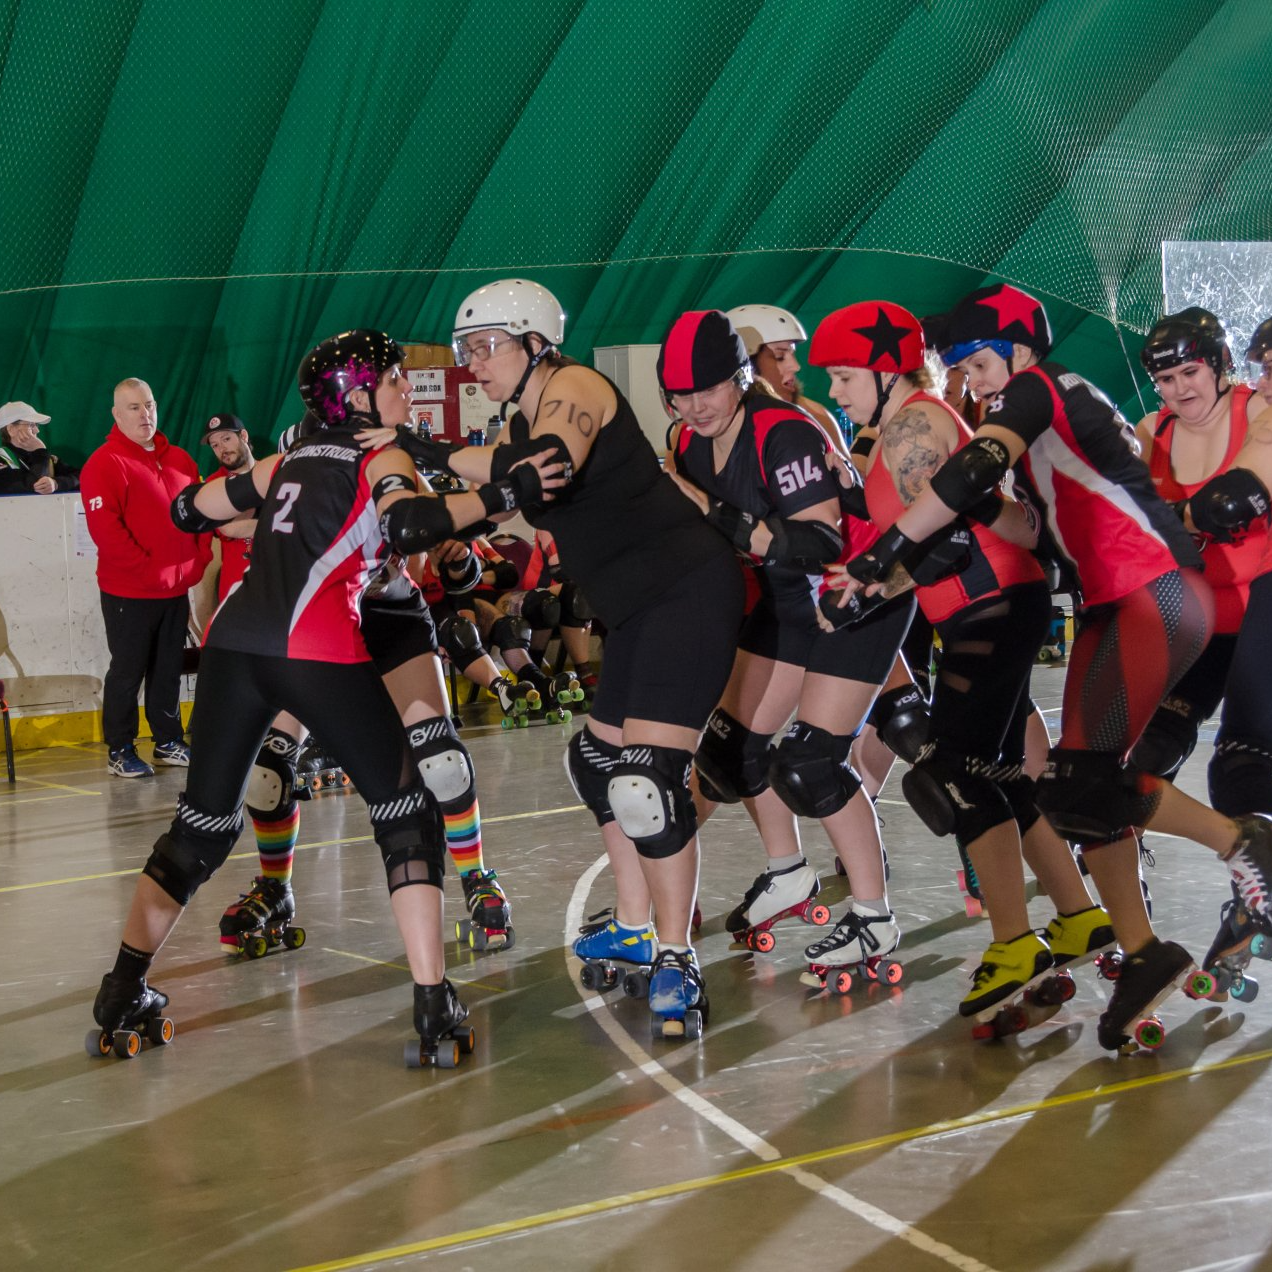
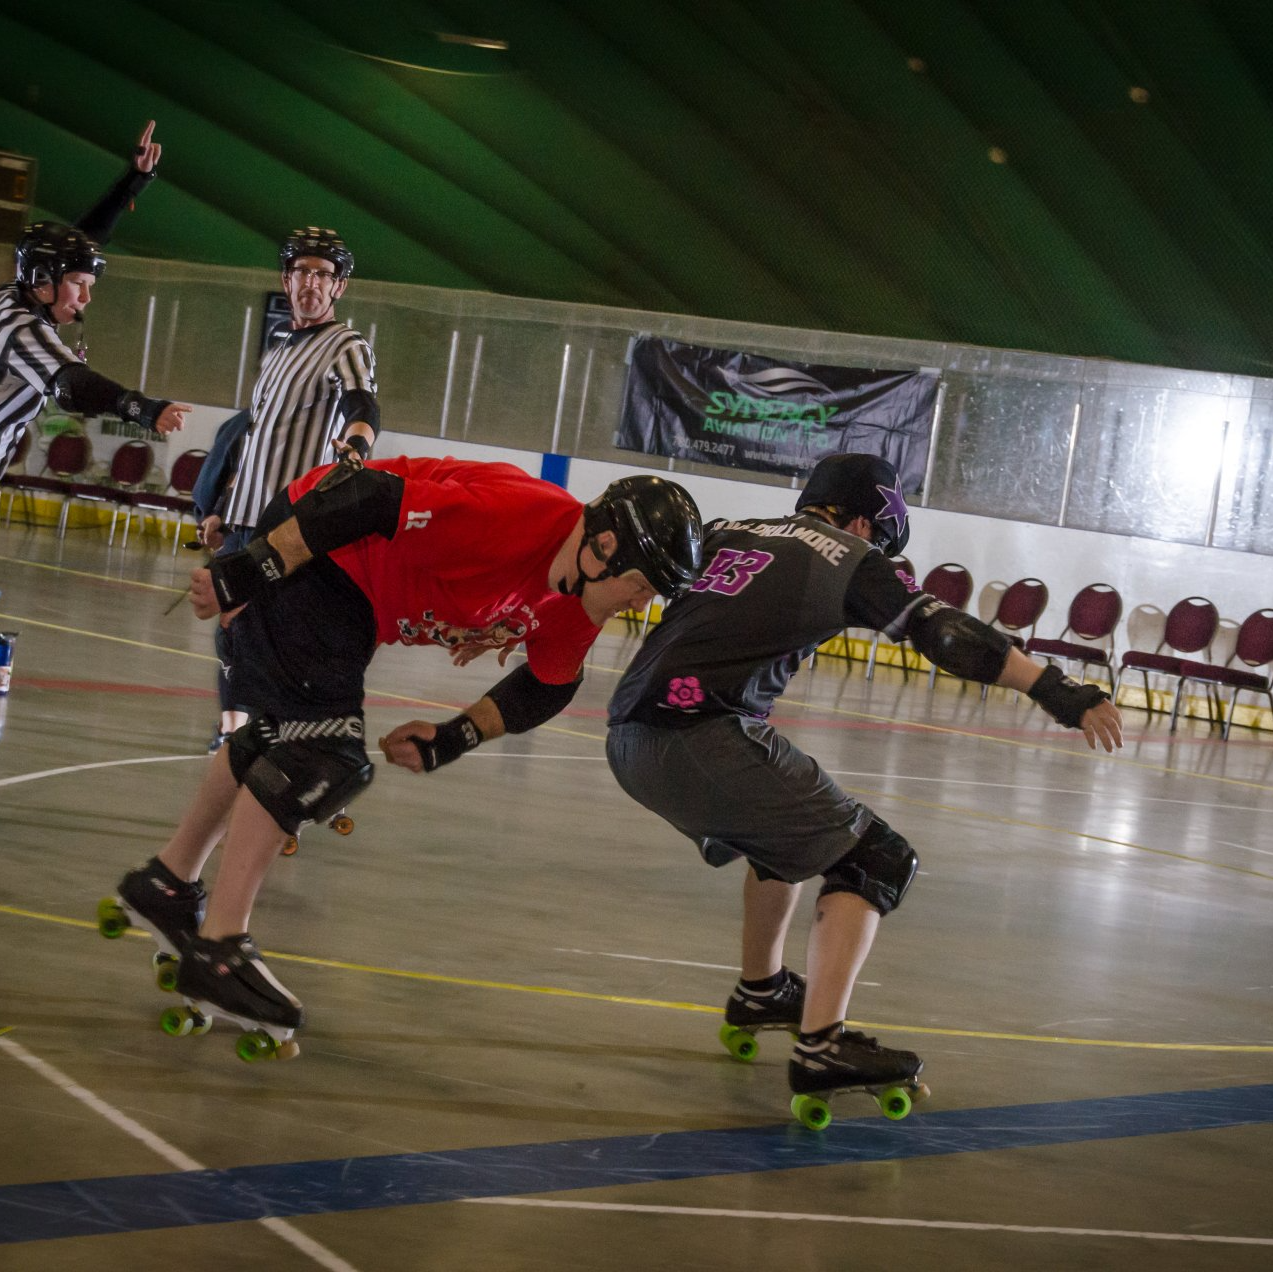
Being able to transition (switch between skating forward and backwards) on roller skates is a fundamental skating skill. But how you learn as a rookie skater does not exactly transfer to what you do on the track. A casual transition is smooth and often you are standing fairly upright, with perhaps some dramatic arm-twirly flare! In a game your transition becomes more of a spin, you use it to get around an opponent, dodge a hit, or to catch up and get back in front of an opponent. In all of these scenarios, you want to be stable and low so no one knocks you off your feet as you turn. The fundamentals of transitions involves shifting your weight from foot to foot while also turning. It sounds simple enough, but where most people struggle with this skill is the weight shift. As we all have a dominant hand, we also all have a preferred leg and putting all of your weight on the other leg feels wrong and uncomfortable. So a big skill you will want to work on while off skates is balance and comfort level being on each leg individually. Any and all single leg exercises will help with your balance and ability to shift your weight between legs. Bringing the transition over to an in-game spin will add on height changes, ie getting low, as well as center of balance. Remember, in-game you are often spinning to avoid being hit, so stability is key for spin moves.
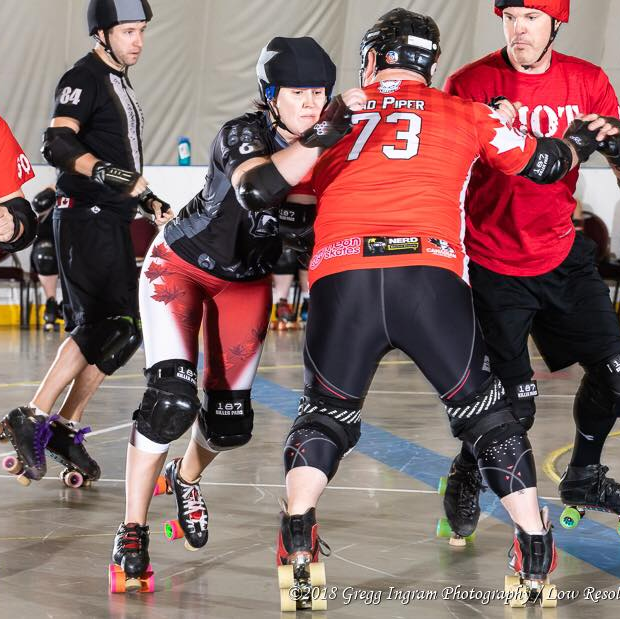
Although the majority of roller derby is played in a forward motion, backwards skating is critical for pushing your game to the next level. Backwards skating can be used by blockers to catch a jammer or support a team mate. Jammers will use backwards skating to escape a hit after spinning around an opponent. No matter what position you play on the team, you will find yourself skating backwards at some point. Practicing the technique and working on skating backwards is your best bet for training, but you will also need to train on your backwards skating and balance off skates during the off-season or because you don’t get much on skate time to work on it. The main focus areas for off skates training will be on muscle building, balance and movement in a backwards direction. We live our lives facing forward, which can make moving backwards feel uncomfortable. So let’s get uncomfortable!
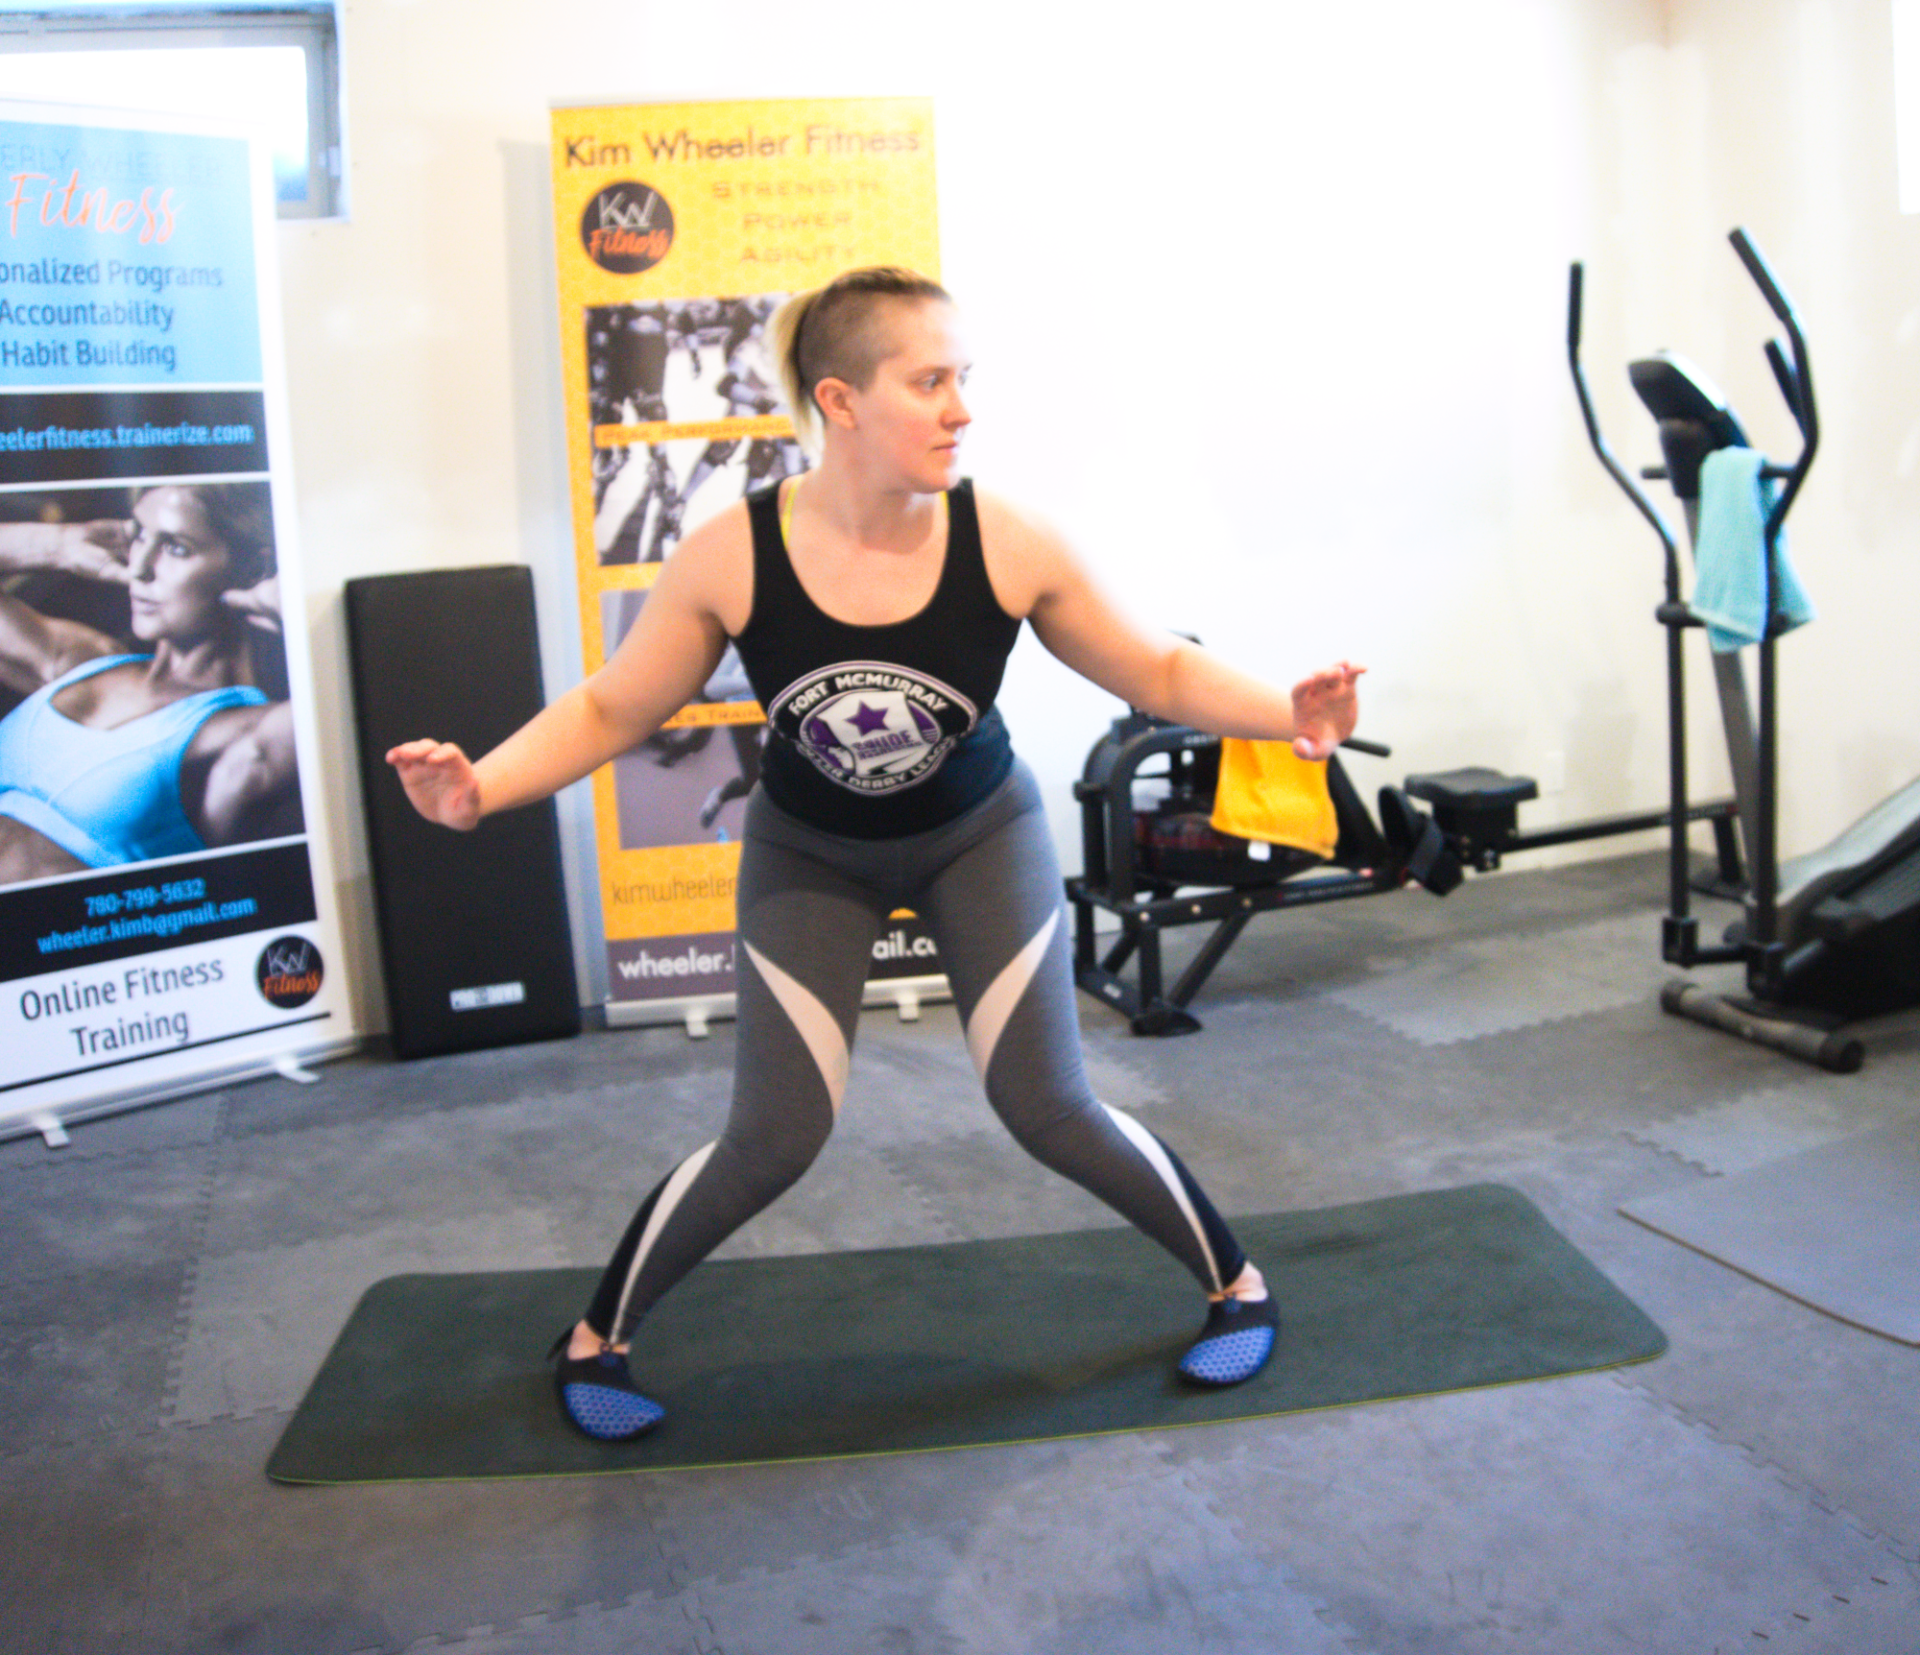
Remember watching that amazing game and seeing that great skater take a huge hit and lose their balance? But the REALLY amazing part was that they didn’t even fall! They were able to take that hit and recover so fast the opposing blocker didn’t have time to reset. In order to understand how they were able to stay up, let’s take a look at the physical aspects, specifically balance and stability. While linked, they are not the same thing. Balance is your core ability to maintain equilibrium against outside forces. Stability is the ability to maintain or return to a desired position when hit with oncoming forces. To give some examples specific to roller derby, the skater staying on the track while riding the curve on one leg is balanced. The blocker skating backwards with their feet staggered when they get hit is stable, whereas the blocker skating backwards with their feet together will get knocked over. How do you train balance and stability? To start off with success, you want to have a strong core and good posture. Balance is about making sure your body is perfectly aligned. Take a moment to try the following exercise: Stand up and hunch over, have a friend push you from behind. Notice how you felt and how you absorbed that push. Next do the same thing but stand with proper posture. You should be able to feel the difference in your stability between the two. To train better posture, you need to find your weak points. There are professionals that can give you an assessment. Main areas most people need to focus on are: increased abdominal strength, less reliance on their lower back, and stronger shoulders. Some great exercises for these are Planks, Plated Twists, Scapula Push Ups, and Back Flys.

As COVID-19 restrictions are starting to be lifted, a lot of us are excited about returning to roller derby practices. However, before we can dive head first back into practices it’s important to review what that means for your body. You, and your entire team have been away from practices for 3 or more months. That’s the same as being off skates for a minor injury. So what could this mean for your return? Injury risk is going to be higher. While you may have been doing some home training during the break and may even feel fit, you should still consider: Were you consistent with your training each week Did your training start to dwindle in the last few weeks Was your training as intense as a full 2 hour practice or scrimmage Was your entire team training as hard as you One of the leading factors to injury is fatigue. We have all been in those practices where near the end the coach calls the drill off because everyone is getting sloppy. That sloppiness is the fatigue built up over practice and can lead to foggy heads, slower reaction time, mistakes and ultimately injury. Taking fatigue into consideration, when you are returning to practices with your league consider making them shorter or keep the overall intensity low. It will take weeks of consistent practices for you and your team to return to the intensity level you were at pre-COVID-19.
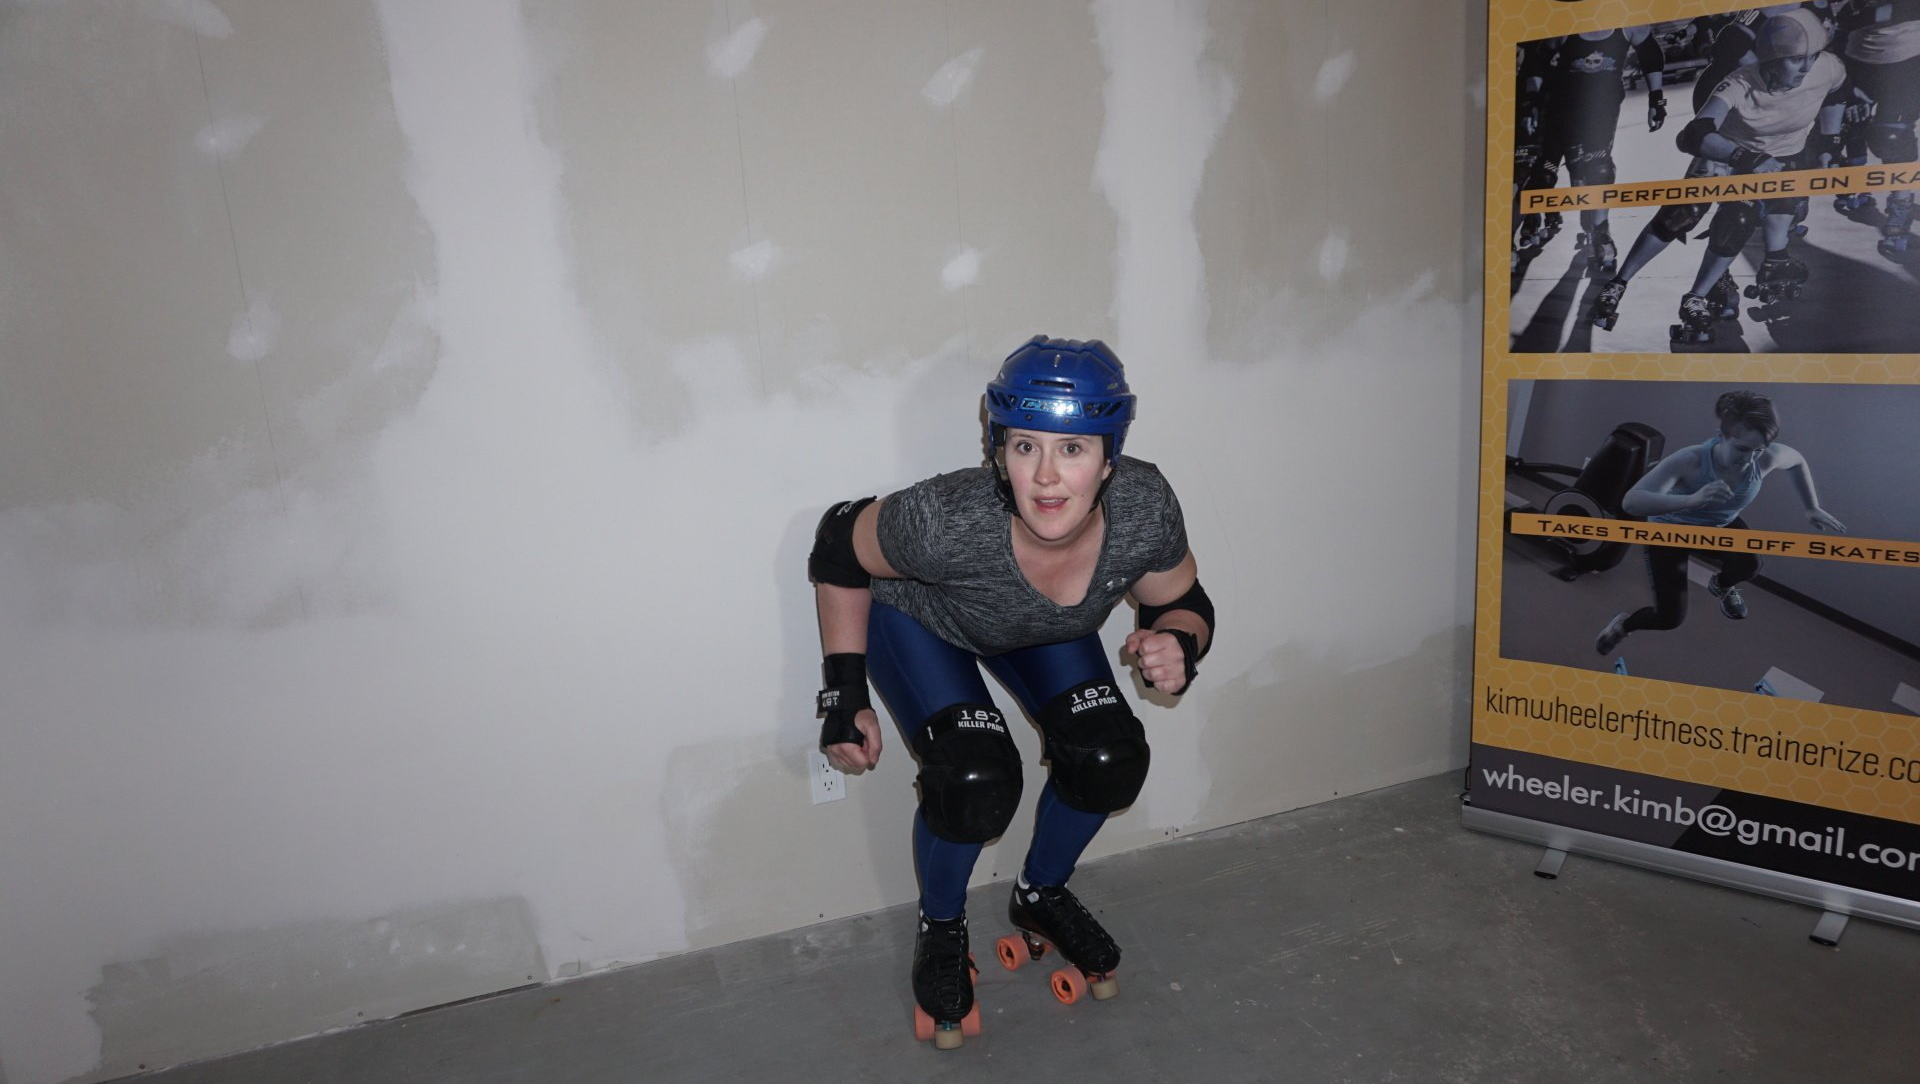
We’ve all heard it before: “Get lower,” “You’re standing too tall,” “Bend your knees!” So you bend down and squat as low as you can and your muscles start to burn. Your skate strides become short and awkward, so you stand back up. But here’s the secret: your coach doesn’t want you to squat as low as you can. So what do they really want from you? The simple answer is that they want you to have more power in your legs. This does come from a lower stance, but not the LOWEST possible stance. Think of your leg muscles like springs. When you’re standing straight up the spring is at rest. When you get lower, the spring is compressed, ready to snap back once you let go. If you get too low the spring is crushed too far and can no longer snap back into shape.
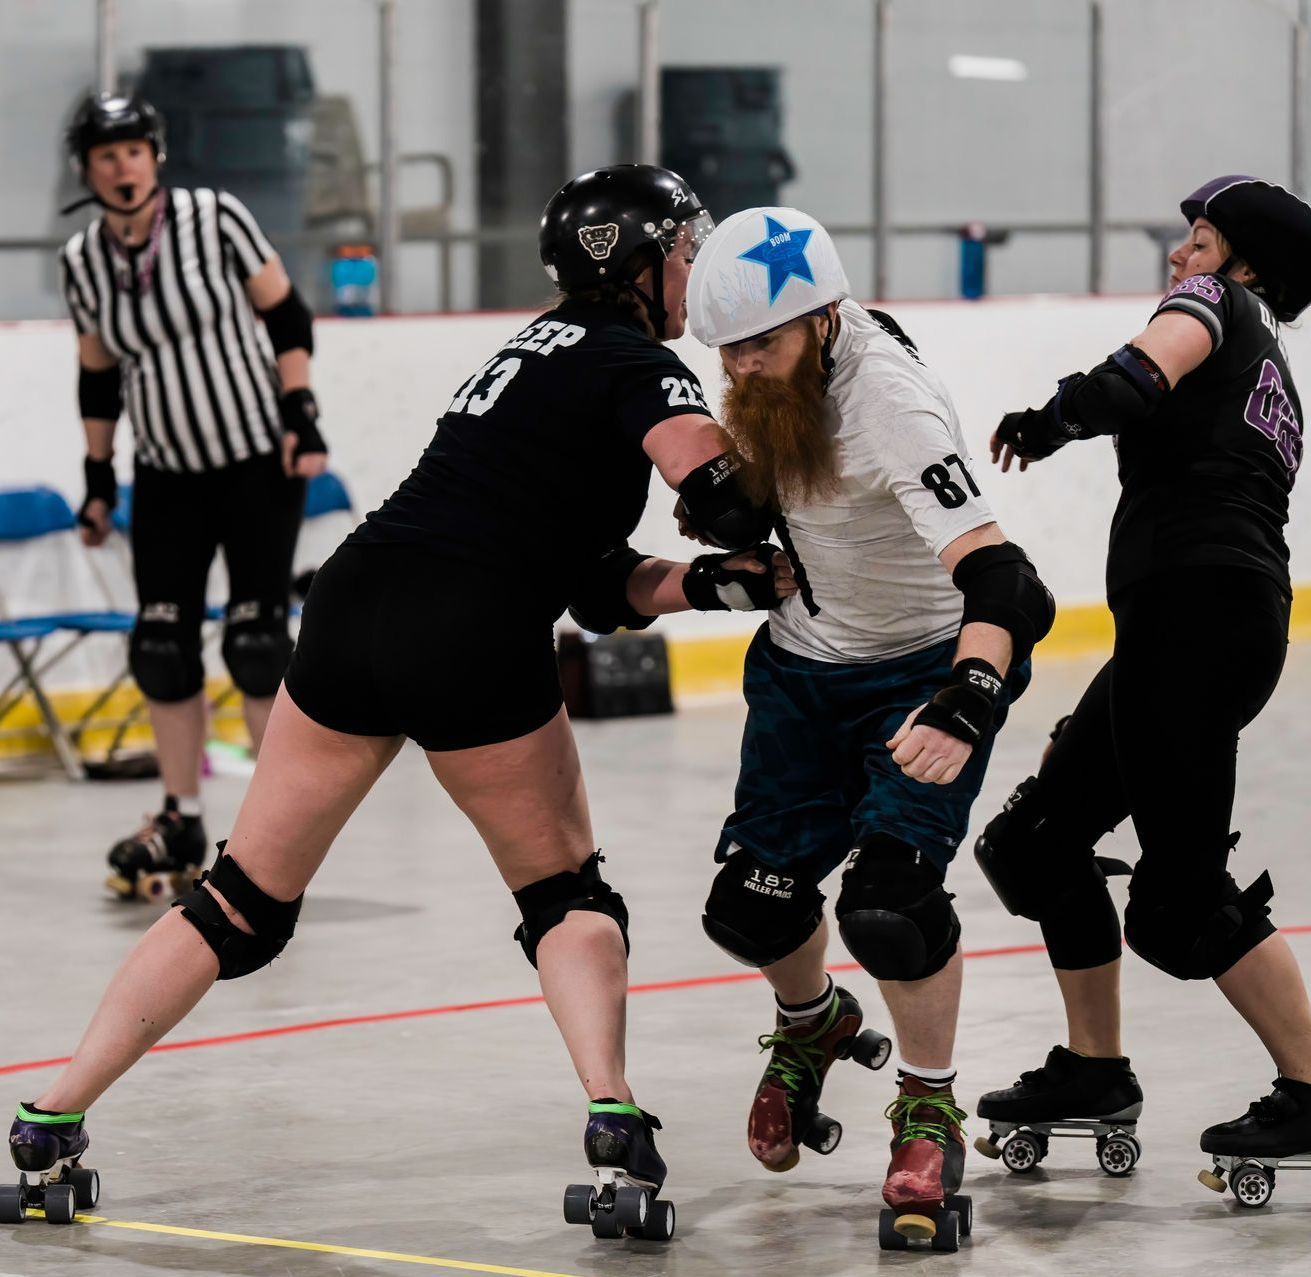
The plow stop is one of the two basic stops you learn to pass minimum skills. But just because it’s learned right away doesn’t mean it’s not important! If you can’t stop in front of a jammer, how do you expect to stop them? Here is the WFTDA Minimum Skills video showing the plow stop. In this video they show a one footed plow stop, and how that is advantageous when blocking with a teammate. Skaters should be able to do a plow stop with either foot forward and entirely even, because sometimes you don’t have a friend to block with. How can you improve your plow stops? First and foremost, is to keep practicing them on skates. But what can you do off skates?

In order to improve performance. all athletes should be focusing their training to specifically enhance motions utilized in their sport or competition. With regards to Short Track Speed Skating, race times are heavily affected by a skaters start. Ice skating sprints starts have a similar motion and acceleration as dry land sprint starts. It is therefore surmised that training dry land starts will benefit on ice starts. Researchers from Australia worked with nine elite and trained short track speed skaters utilizing a four week dry land starts training program to test on ice start improvement. Athletes completed both dry land and on ice sprints to gain a control number followed by specific sprint start training and then re-doing the dry land and on ice sprints. Figure 3 below shows a comparison of an athlete’s dry land sprint time, to on ice sprint time. Both sprints were measured at time to cross 14.43m. The open circles and dashed line show the results during the control period and the black circles and solid line show the results after specific training.

What happens after you use (contract) a muscle? The quick answer is fatigue! Your muscle gets tired and your performance will slowly decrease. However, that is not always the case. Postactivation Potentiation (PAP) is the exact opposite, where after contracting a muscle, the same muscle sees an increase in performance. In order to achieve a PAP response, a strength exercise is done at or above 85% of a single repetition maximum weight, after which an increase in power/velocity is seen for 5 - 20 minutes after the strength exercise. How PAP can affect velocity is divided into two types of speed for this review: linear and change of direction. Linear velocity is moving in a straight line, typically tested as speed in a forward motion. A couple studies have linked performing a back squat to increase sprint speed. Performing a heavy loaded back squat, of 2 sets of 4 repetitions at 85% maximum weight showed an increase in sprint speed by 3% after 4 minutes of rest. Studies using Deadlift and Power Clean did not show any improvement in sprint speed. The reason for this is that the back squat exercise provides a loaded force, pushing into the ground in order to return to standing, which activates the same muscles used to push into the ground while sprinting. It is noted that PAP is linked to individual reaction, and therefore some people may not find the back squat to increase linear speed. In that case, athlete should try unilateral (single leg) exercises that activates either the pushing force of the run or the forward force. Change of Direction velocity is the speed in which an individual can move in a new direction, typically tested in a full 180° turn. The two studies reviewed involved a back squat followed by a shuttle run, meaning the change of direction was 180°. Performing a heavy loaded back squat, of 5 sets of 1 repetition at 90% maximum weight showed an increase in shuttle run performance of 1.5%. Results from these studies determined less of an increase in Change of Direction velocity versus the studies done with Linear velocity. A reason for this difference could be the more complicated technique of slowing down and turning involved in performing a shuttle run.. In order to use PAP in your training, you first need to test if it will work for you and which exercises. Engage with your coach or a partner and test out different exercises paired with sprinting. In order to avoid fatigue bias in your results, make sure you test each set of exercises 2-3 days apart. References https://journals.lww.com/nsca-scj/Fulltext/2018/02000/Effects_of_Postactivation_Potentiation_on_Linear.9.aspx
It’s the day before a game. What kind of training should you be doing to maximize your effectiveness? Are you resting, doing some light movement like yoga or walking, or continuing with your normal scheduled training session? The answer, according to one study, is a low volume power resistance training session! The study involved 17 national level male athletes tested on countermovement jump (CMJ), reactive strength index (RSI) in the form of a drop jump, and the rate of force development (RFD) for maximum leg press, measured over 100, 200, and 300 seconds. Participants performed two control sessions, testing explosive power before and after 24 hours and 48 hours of rest; as well as two experimental sessions, testing explosive power before and after 24 hours and 48 hours of resistance training. The resistance training was 5 sets of 4 jump squats. Results showed an improvement in all test exercises after completing the resistance training. Maximum results were seen after 24 hours versus 48 hours from the initial test. The countermovement jump had the lowest increase in performance with only 5% increase in jump height. The reactive strength index, or drop jump had over 10% improvement in drop rate (height x ground contact time). Finally the rate of force development, tested with a leg press saw a large increase in power within the first 100 seconds of the press at an 18% increase, meaning participants were able to push harder in the first 100 seconds of the leg press. The results 24 hours after the control (resting) sessions had no significant increases in performance, being only 2% or less from the base test.
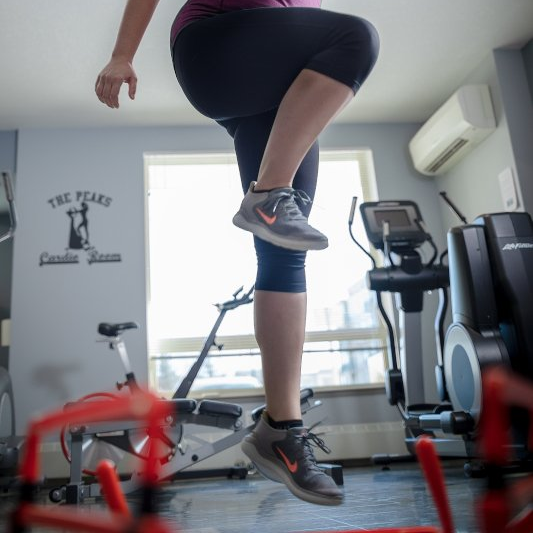
Plyometrics are explosive workouts aimed to improve power and burst force. These types of exercises are typically given to athletes in sports that require quick power or movement. Plyometrics for athletes are used to improve an athlete’s Rate of Force Development (RFD). The RFD is essentially how quickly an athlete can load up (i.e contract) their muscle for use. For explosive power, you are looking at muscle loading taking place within 250 milliseconds. Previous studies have reviewed strength generated between one leg and both leg activiations. The findings determined that one legged exercises produced more strength in that leg than the same exercises done with both legs. These studies were solely done on strength moves and not explosive moves. A study was done at the University of Athens to specifically look at explosive power between single and double leg exercises. The study used 15 physically active participants between the ages of 18 and 26. All participants completed a test on single leg jumping and double legged jumping before and after the study. Participants were split into two groups, one for single leg and one for double leg exercises. Each group completed 8 exercises twice a week for 6 weeks. After the 6 week training session the participants all completed the same single leg and double leg jumps as they did at the start. Figure 1 shows the initial results for each group and the percent change for each group at the end of the study. The white bars are the bilateral or the double leg group. The black bars are the unilateral or single leg group. The first graph shows the average results for each jump and each group followed by the percent increase for each jump and each group. Both groups saw a similar increase in their double legged jump performance. However, the single leg group saw a 15.6% larger improvement for the single leg jumps on average, which is 5 times more improvement!

Steady state, aerobic interval, or anaerobic interval which type of cardio should you be doing to enhance your performance? In general, you should try to mimic the demands of your sport as best as possible.